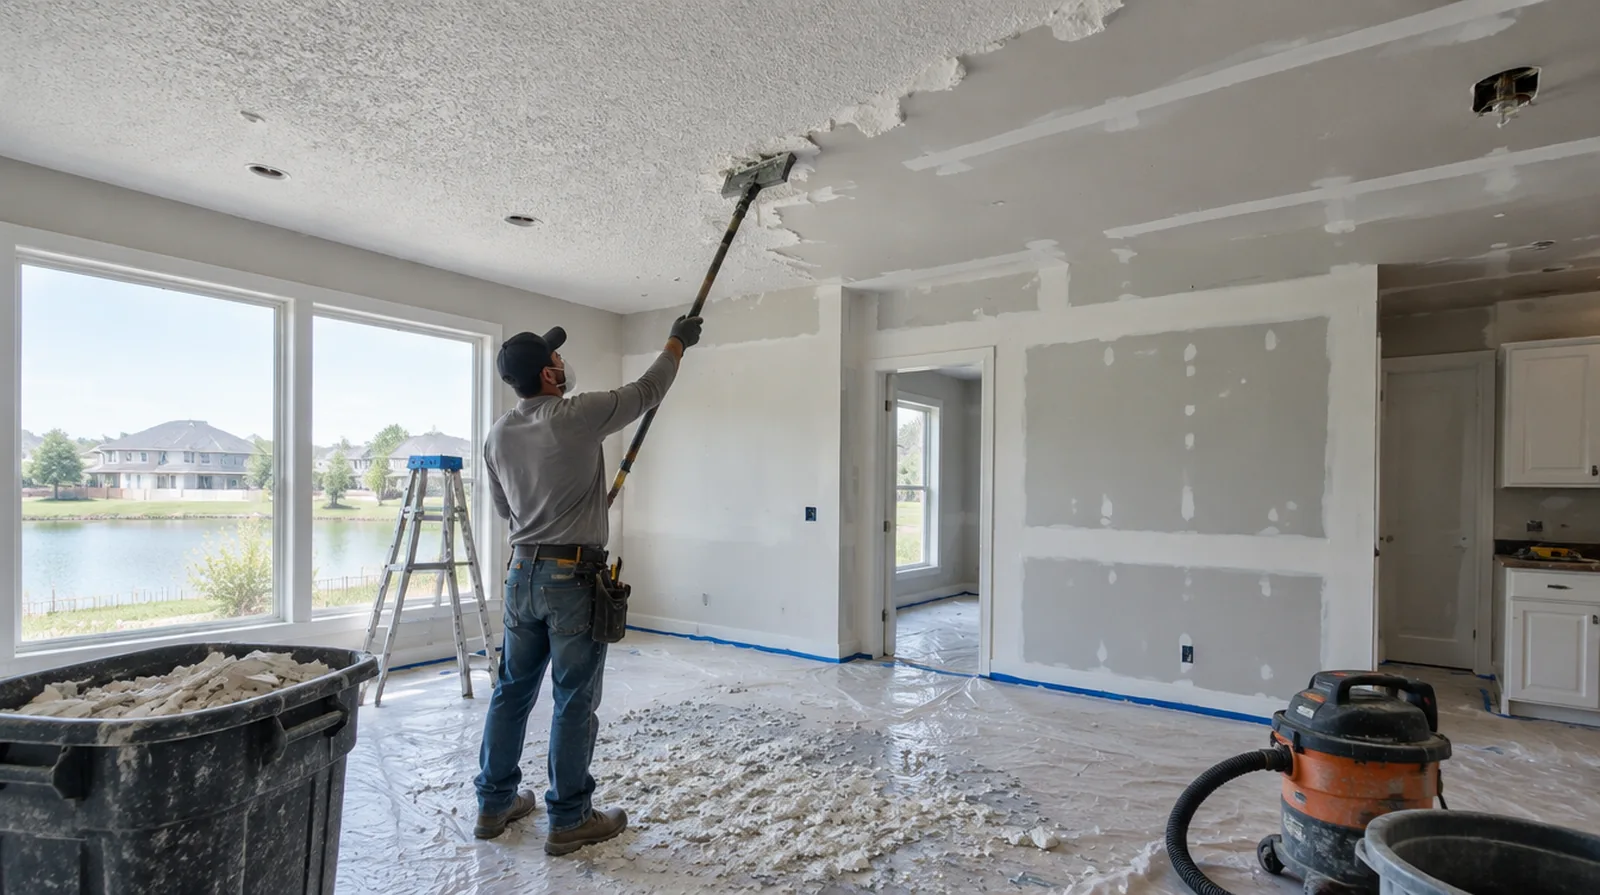
Choose the final surface
The intended replacement finish ought to be selected before the removal and restoration work is priced. A new patterned finish and a flat smooth ceiling can need substantially different preparation. For a surface carrying numerous paint layers, discuss whether differences in the retained profile or sheen justify decorating a broader area.
Repair exposed imperfections
Scraping may expose torn paper, dents and joint defects that need stabilization before a new finish. The repair allowance should be discussed before the original texture is removed. If scheduling is the main concern, separate hands on labor from drying intervals instead of treating every visit as a full day of active work.
Confirm primer and paint
The newly exposed and repaired ceiling needs an appropriate coating plan after it dries. Clarify whether the drywall quote stops at a ready for painting finish or includes decorative coatings. When the decorative coating has been selected, tell the finisher its intended sheen and color while the substrate preparation standard is still being agreed.
Check for painted coatings
Paint over a textured coating may alter how readily the material releases. A small controlled assessment helps explain labor and potential damage to the underlying surface. For an initial assessment from pictures, provide an overall room photograph and a detailed view of the defect so both context and scale are apparent.
Avoid unnecessary saturation
Removal techniques should never soak and weaken the gypsum board beneath the coating. The assessment needs to consider how the original finish responds and what the substrate can tolerate. While a removed panel exposes the wall cavity, complete the necessary review of concealed work before replacement board closes the opening.
Plan cleanup and reopening
Allow for debris removal, drying and decorating instead of assuming the room is complete immediately after scraping. Review the agreed surface condition and cleanup before returning the room to normal use. Where light reflects along the wall, inspect the complete plane instead of limiting the review to the edge immediately next to the repaired section.
Plan fixture coordination
Light fittings, alarms and other ceiling devices could need separate handling by the appropriate trade. The scope should identify who disconnects and reinstalls them rather than leaving that responsibility unclear. At a repair beside an opening, allow clearance for moving board through the doorway and space to use the finishing tools effectively.
Account for side lighting
Windows and ceiling fixtures can expose shallow ridges once the heavy texture is gone. A wider skim or more extensive finishing may be suitable for an original surface not built to remain smooth. When more damage could be hidden, ask how any added scope will be documented before extra material is removed or replaced.
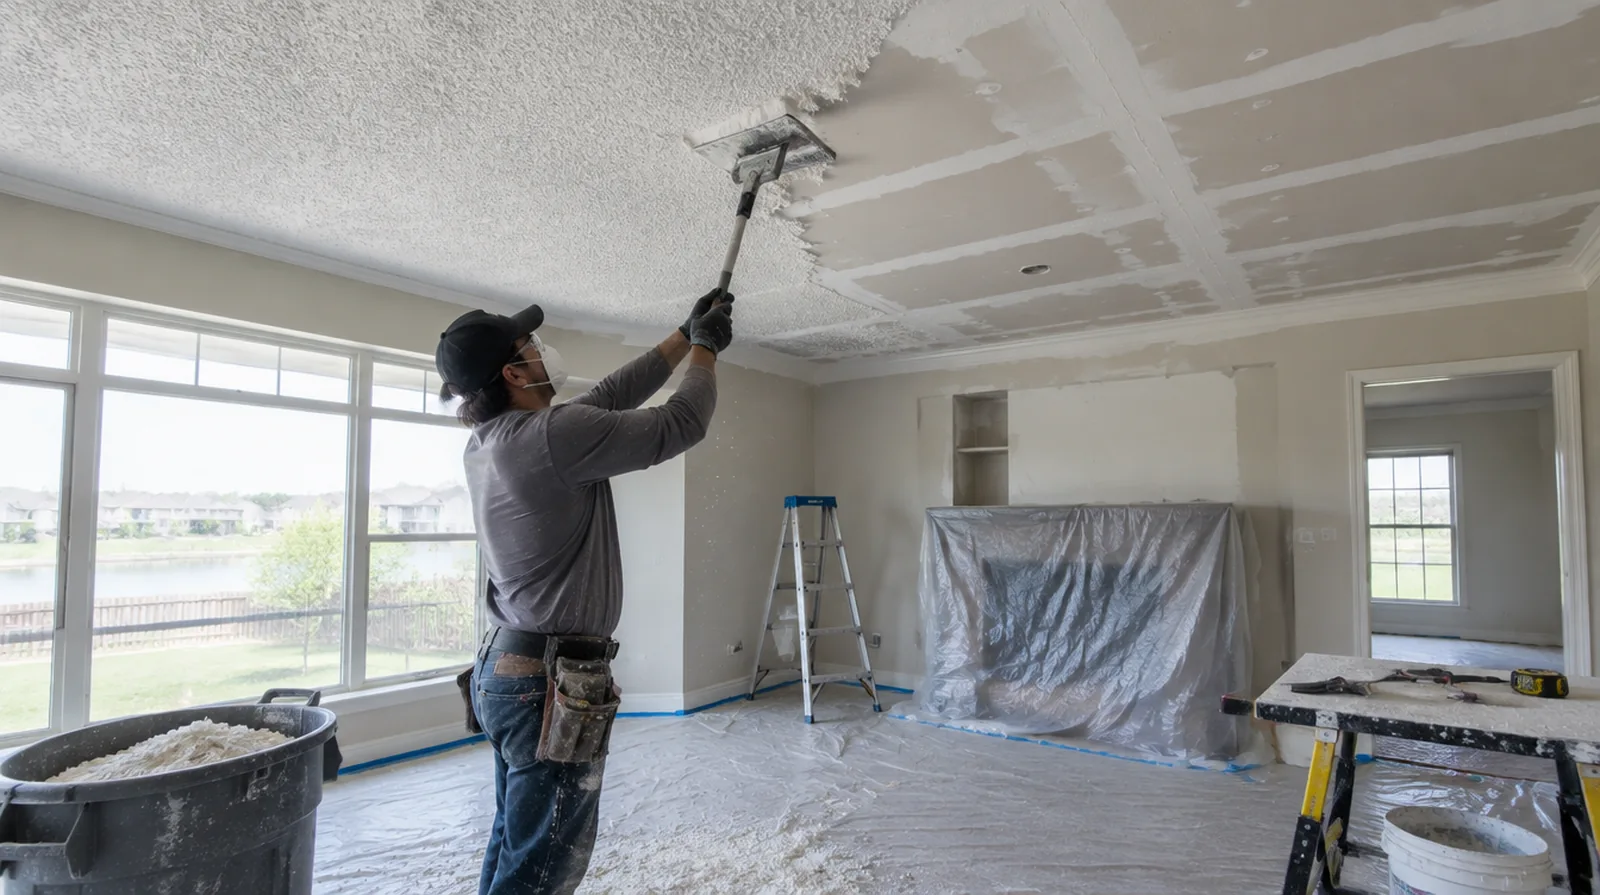
Establish material safety
Do not disturb an older ceiling texture until any material safety concerns have been evaluated. Where asbestos could be present, arrange suitable testing and follow the applicable process before removal begins. Where a neat final edge matters, agree whether the finish ends against existing trim or whether that trim will be removed and replaced.
Protect the entire room
Ceiling removal creates overhead debris that can reach walls, floors and fixtures. Talk through furniture removal, masking and the route used to carry materials out of the property. When painting is outside the proposal, describe the remaining decorative preparation clearly so another contractor can price that stage accurately.
Project context in Atascocita
HOAs in Atascocita often set rules for contractor parking, dumpsters and working hours. Walls over open stairways in two-story Atascocita homes need scaffolding that protects the steps.
Scope questions before finishing
For a repair that crosses several surfaces, measure the affected planes separately so the estimate can explain where each finishing treatment starts and stops.
Where the wall surface meets fixed furniture, clarify whether removal is included or whether the finish will terminate at the accessible edge.
If occupancy must resume on a certain day, include the later primer and paint stages in the timetable as well as drywall installation and finishing.
At an edge beside built in furniture, state whether the obstruction will be removed or whether finishing stops at the section that can be reached.
If the project is part of a larger remodel, settle the sequence with flooring, trim and cabinet work before setting a final finishing date.
For work spread across differing planes, record their dimensions separately and describe the boundary of the treatment on each surface.
Where a finished perimeter is prominent, decide whether trim stays in position or is removed before agreeing how the new surface meets that edge.
When comparing competing estimates, make sure their protection, surface finish and disposal allowances describe equivalent work before comparing the final prices.
For a surface that will receive wall covering, share the product requirements early so the finishing stage supports the planned decorative treatment.
If the completion date matters most, allow for intervals between coats as well as active labor rather than assuming the entire process happens continuously.
When painting is outside the proposal, describe the remaining decorative preparation clearly so another contractor can price that stage accurately.
Where flooring is staying in place, agree on protective coverings and check that tools and material handling will not damage the visible finish.
Explore the Atascocita drywall overview for related options, or read the project planning information before arranging the next stage.
More planning details for Atascocita
Some Harvey-era drywall repairs in the Lake Houston area now show seams that need refinishing. Dating photos of a crack helps show whether movement is ongoing before a repair is scheduled. Gulf humidity slows drying, so air conditioning and fans help between finishing coats.